
Practical guide · 25 October 2026
Maintaining a welded block heat exchanger: cleaning, inspection and repair
How to look after a welded block (plate & block) heat exchanger: what to watch in operation, chemical and jet cleaning, panel gaskets, finding a leak and repairing it.
9 min read, with a 3D videoRead the article
A welded block heat exchanger has no gaskets between its plates, so there is no plate pack to regasket. That does not make it maintenance-free. The block still fouls, the side panels still seal on gaskets, and after years on an aggressive duty a channel can still leak. The good news is that almost all of it can be done on site, with the unit in place. This guide covers what to watch while it runs, how to clean it, and how to find and repair a leak. For how the unit is built, see our earlier post, Welded block heat exchangers: a better alternative to shell & tube.
What to watch while it runs
- Pressure drop on both sides. Log it at the same flow every week. A steady rise is the earliest sign of fouling.
- Outlet temperatures. If the duty falls at the same flows and inlet temperatures, the plates are fouling or a pass is short-circuiting.
- The panel joints and nozzle flanges. A damp line or crystals along a panel edge mean a panel gasket needs attention.
- The quality of both streams. Product in the cooling water, or water in the product, points to a leaking channel. Act on it at once.
Write down the pressure drops and temperatures on the day the unit is commissioned, and again after every cleaning. Without a clean baseline it is hard to tell when cleaning is due.
Cleaning in place
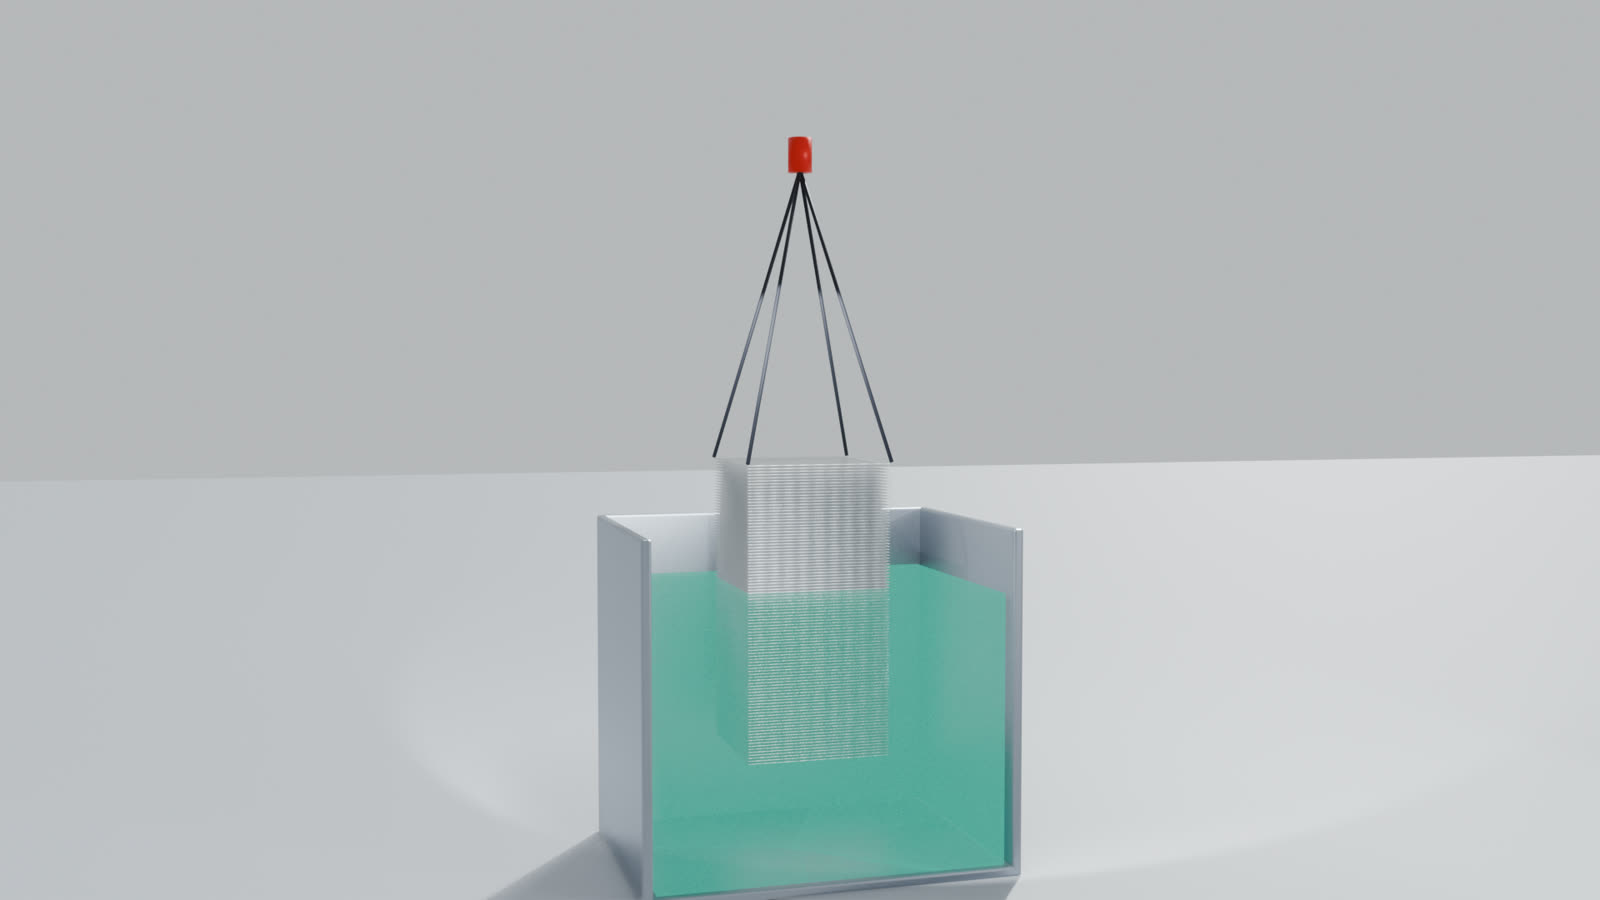
There are two ways to clean a welded block. Most fouling comes off without opening the unit: a cleaning-in-place skid (tank, pump and heater) is connected to the fouled side, and the solution is pumped through, first forward and then against the normal flow direction, so deposits are lifted out of the channels. When that is not enough, the panels are taken off and the channels are jetted (next section). At a service workshop with the right equipment the plate pack can also be lifted into a cleaning bath and soaked, then jetted and checked. Agree the procedure and the chemicals for your duty before you start.
- Scale and other mineral deposits: a mild acid cleaner.
- Oil, fat, protein and other organic deposits: an alkaline cleaner, usually warm caustic.
- Rinse with clean water before and after, and neutralise the spent solution before disposal.
- Match the chemical to the plate material. Hydrochloric acid and chloride-bearing cleaners attack stainless steel, and fluorides attack titanium. Never use either on those plates.
Typical figures, which we confirm for your unit before the first cleaning: flow about 0.8 to 1.5 m/s, forward for about 30 minutes and then in reverse for about 30 minutes. For oil, fat and organic deposits, 2 to 3 % caustic soda at 60 to 80 °C. For scale, 0.5 to 1.5 % citric acid at 40 to 60 °C. Water rinse first, rinse to neutral between the two, and a final rinse to neutral.
- Stainless steel 316L: dilute alkali and citric acid are fine. No hydrochloric acid, no fluorides, no hot concentrated phosphoric acid.
- Titanium and 254 SMO: no fluorides or hydrofluoric acid.
- Hastelloy C-276 and other nickel alloys: each has its own list of agents to avoid, so give us the alloy before choosing a cleaner.
Mechanical cleaning with the panels off
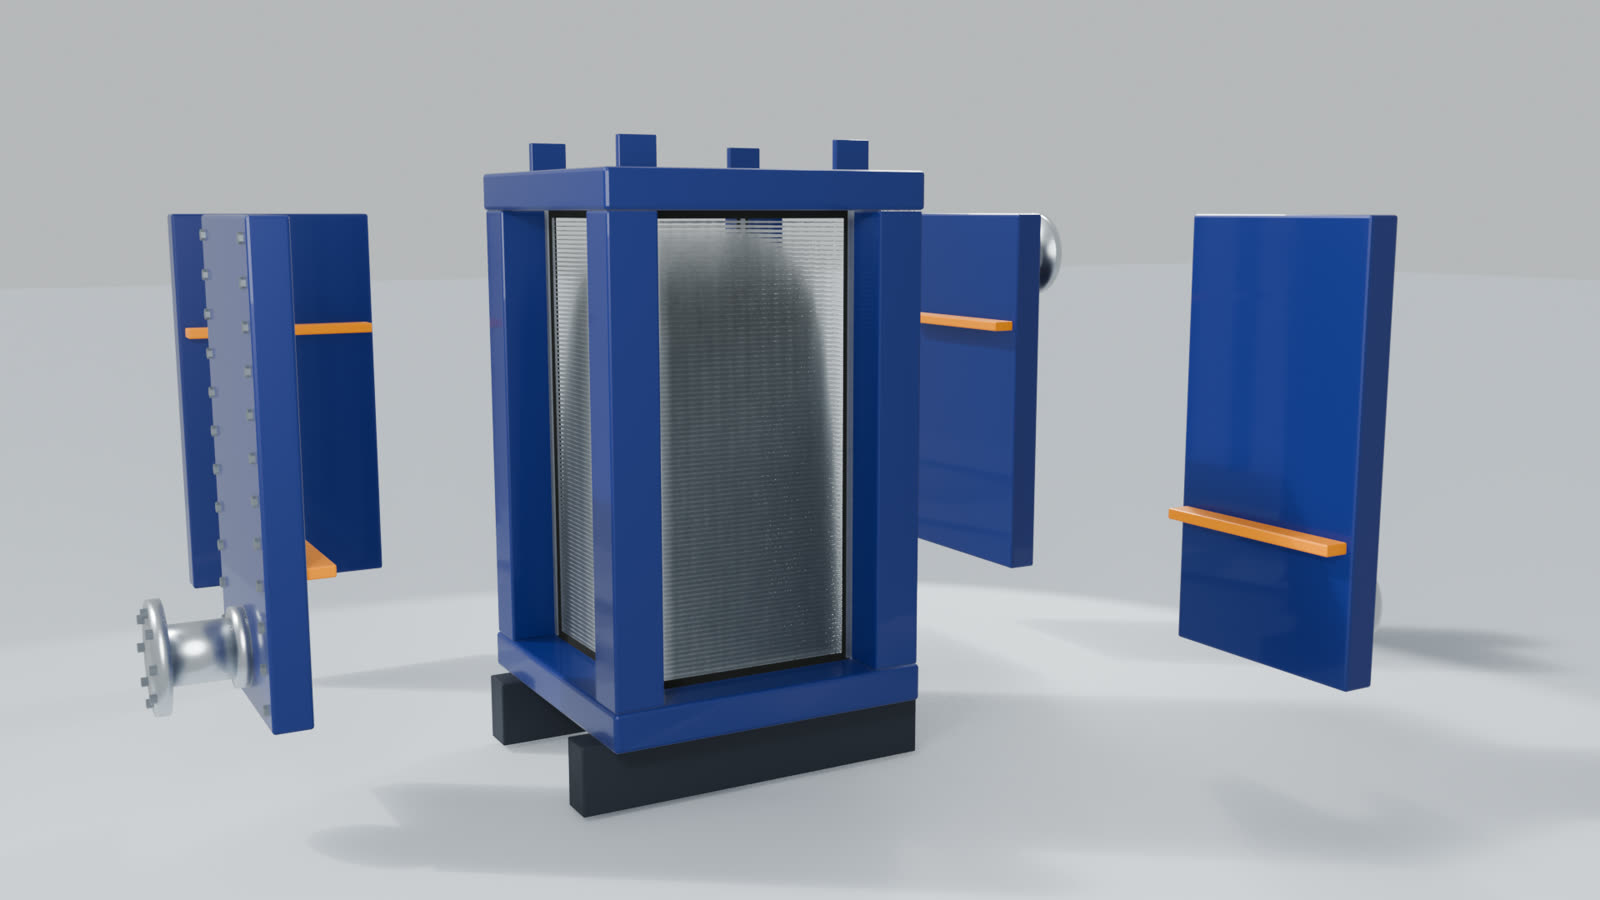
When deposits are too hard or too thick for chemicals, the block is opened. This is where the welded block earns its keep: every channel is straight and open from the side, so it can be seen and jet cleaned along its full length.
- Isolate both sides, relieve the pressure and vent them, drain them and flush out any residual acid or alkali, lock out the pumps, and let the unit cool to ambient before releasing any bolts. Mark each panel for its circuit.
- Support each side panel with lifting gear, then loosen the bolts evenly in diagonal steps so the panel comes away square, and take it off by its lifting lugs. Each panel gives access to the channels of one side only, so take off all the panels to clean both sides of the plates. Mark each baffle with its position as it comes out.
- Wear full protective clothing for jetting: hood or face shield, gloves, boots and a protective suit. A high-pressure jet can cause serious injury.
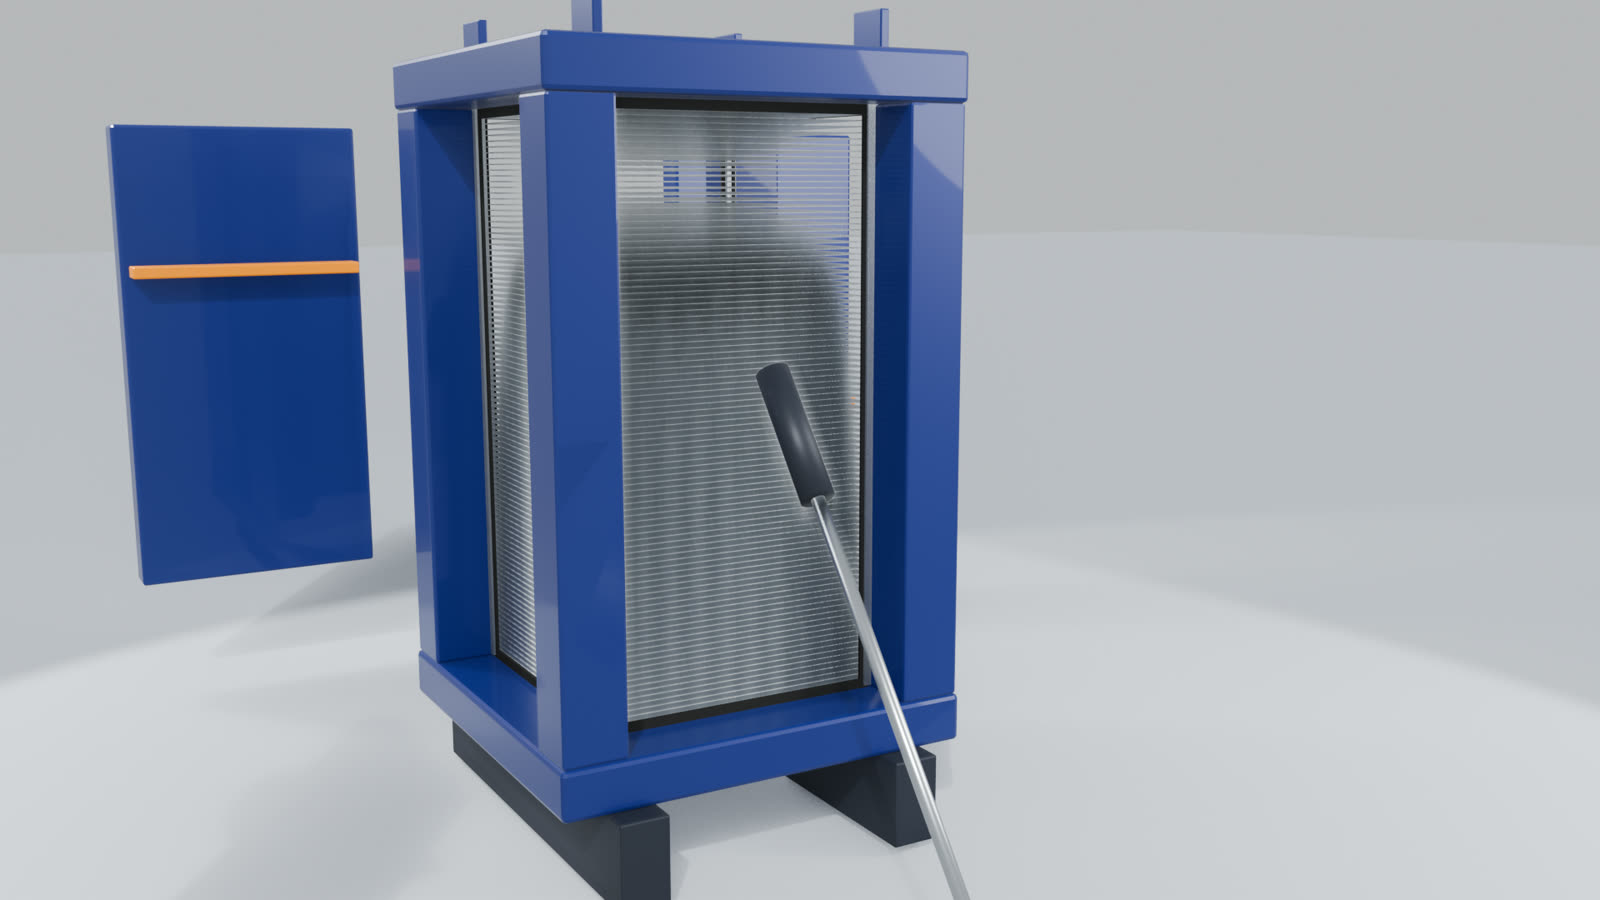
- Jet the channels with high-pressure water, working along each channel at an angle to the plates (never straight at them, and never held still), with the nozzle about 100 mm from the plate edges. High-pressure water or steam is used, typically at 500 bar or less on many models, with the lance held at about 45 degrees to follow the plate pattern. Always follow the manual for your model for the pressure limit and the nozzle distance. We confirm them for your unit before the first cleaning. Rotating nozzles and a concentrated jet both work. Hot water cleans well too. Clean the block channel by channel, on both open sides of the plate pack.
- To get the best result, use an environmentally friendly degreaser with the hot water. Drain the used cleaning solution to a suitable wastewater system.
- Never use wire brushes or hard scrapers on the plates. A scratch becomes a starting point for corrosion. A soft nylon brush is fine.
- Inspect the plate edges and welds while the channels are open. Look for pitting, cracks and thinning, and note anything to watch next time. An endoscope or borescope (a small camera on a probe) is the way to check the cleaning between the plates: it shows leftover deposits, damage, signs of leakage between the two media and the condition of the welds, and you can take photos for your records. A suspected leak is confirmed by a pressure test.
Closing up: panel gaskets and bolts
- Check that the baffles in the panel are in place and undamaged. They turn each fluid from one pass to the next, so a block cannot work without them, and they must go back in the same position.
- Clean the sealing faces on the panel and the block. Old gasket residue is the most common cause of a weeping panel.
- Fit a new panel gasket unless the maker allows the old one to be reused. A panel gasket is cheap; an extra shutdown is not.
- Tighten the panel bolts in a crossing pattern, in two stages: first to about 60 to 70 % of the torque given for the unit, then to the full value. The value depends on the bolt size, bolt material, gasket and lubrication, and runs from about 100 N.m on the smallest panel bolts to well over 1,000 N.m on the largest, so always use the figure on the drawing for your unit and a calibrated torque wrench. Uneven tightening distorts the panel and the gasket will not seal.
- Pressure test at the design pressure before putting the unit back on line, and, after releasing the pressure, retighten around any weep.
Finding a leaking channel
If one medium is turning up in the other, a plate has a hole or a crack. To find it, open the panels on one side, then fill and pressurise the other side with water. The leaking channel shows itself as a drip or spray from one channel opening. Mark it, and check the rest of the block while it is open: where one channel has failed, the ones next to it have seen the same conditions.
Repairing a leaking channel
A leaking channel is closed off at both ends, on the two opposite faces of the block, in the same way a leaking tube is plugged in a shell & tube. A qualified welder carries it out as set out in the maker’s manual or handbook. It can be done on site, with the unit in place, and it does not have to go back to the supplier’s workshop. The unit goes back into service with a small loss of heat transfer area.
- Clean the mouth of the leaking channel back to bright metal at both ends, and remove all deposits and moisture.
- Fit a plug or filler strip of the same material as the plates into each end of the channel.
- Weld the plug in by TIG (GTAW), with a filler wire that matches the plate material, by a qualified welder, to the procedure in the manual or handbook. Do not use stick (MMA) or MIG welding: the plates are thin, and the heat from those processes can burn through the plate or crack the neighbouring channels.
- Check the weld by dye penetrant, then fill the repaired side with water and pressure test it before closing the panels.
Record each closed channel, with its position and the date. How many channels can be plugged is the user’s call. It depends on the spare capacity built into that heat exchanger, and on how much loss of duty the plant can accept before production or load suffers. Send us the unit and the duty and we will help you judge it.
No welding on the frame, on the panels or anywhere else on the unit, except plugging channels as the manual or handbook describes. Do not strike or grind the unit either. Do not put the unit under pressure beyond its rating, and never force a panel on or off. If welding is done elsewhere on the plant, do not use the heat exchanger as the earth point: the current can damage the plates.
Once too many channels are closed, or the plates show general corrosion, the plate block is replaced. The frame, panels and nozzles are reused, so a new block costs far less than a new unit and needs no change to the piping.
Starting up and shutting down
- Vent air from both sides when filling.
- Bring in the colder stream first, then open the hot stream slowly. Sudden temperature changes stress the welds.
- On shutdown, close the hot stream first and let the unit cool before stopping the cold side.
- Avoid pressure surges from quick-closing valves and pump trips. A welded block takes high pressure well, but repeated shocks shorten its life.
A simple maintenance plan
- Every shift or day: outlet temperatures and any visible leaks.
- Every week: pressure drops on both sides, logged against flow.
- When pressure drop rises well above the clean value, or the duty falls: clean in place.
- Some duties need a clean as often as every 3 to 6 months; clean ones go far longer. Let the pressure drop decide, not the calendar.
- At each planned shutdown: take off the panels, jet clean both sides of the plates, inspect with an endoscope, fit new panel gaskets.
- Keep in stock: one set of panel gaskets, about 10 % spare panel bolts and nuts, and the cleaning chemicals approved for your plates.
We supply panel gaskets, plate blocks and complete welded block units from our principals, with cleaning and repair guidance for each unit we supply. Send us the nameplate details and the problem you are facing, and we will advise on the next step.
Read next
- Welded block (plate & block) heat exchangers
- Welded block vs shell & tube
- Corrosive media duties
- All heat exchanger types
Nothing hot is wasted.
Your partners in Heat Transfer Solutions & Sustainable Technologies. Send us your duty and we will size it, or ask us about a unit you already run.
Send an enquiry